How to Customize Lead Phases
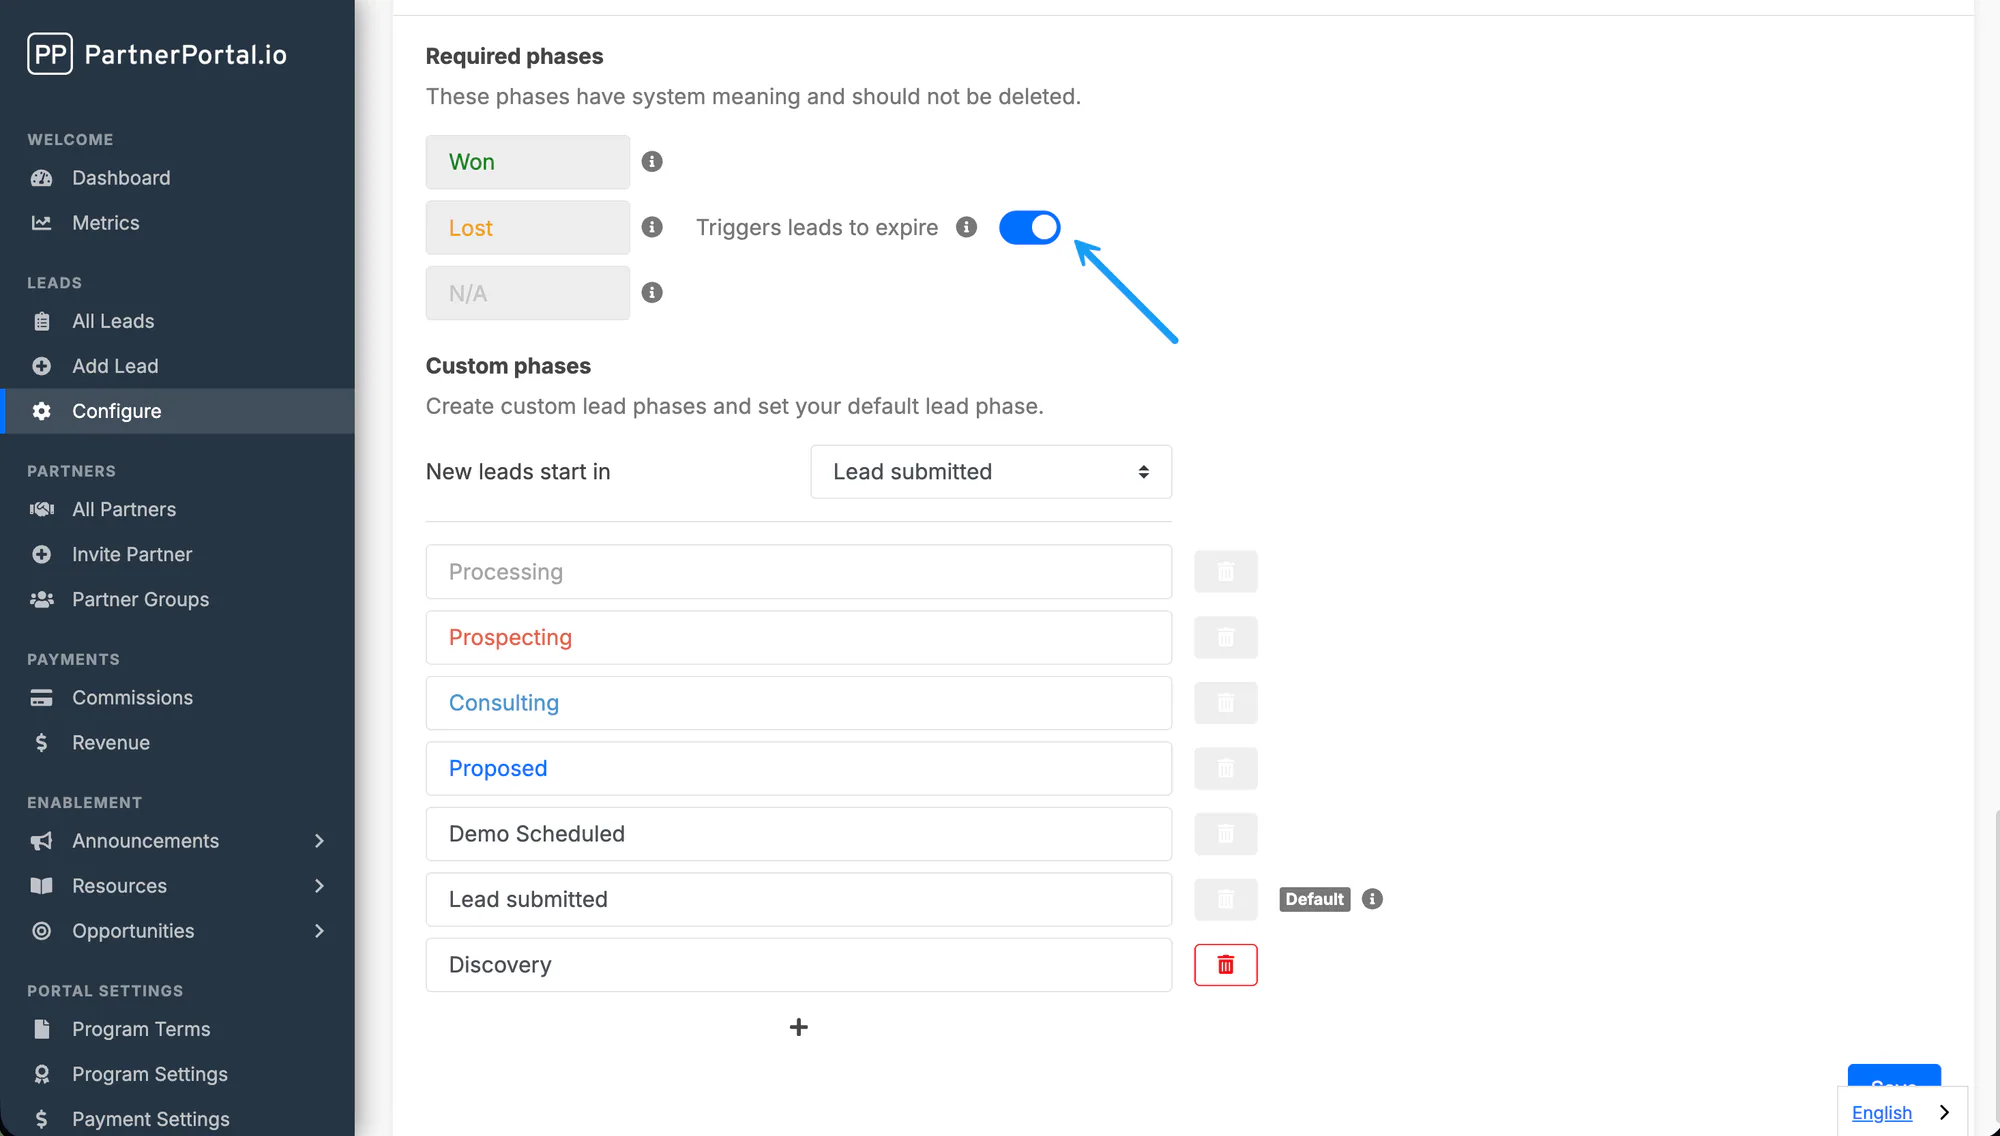
To customize the lead phases in your portal, go to Configure under Leads in your sidebar. Scroll to the Lead Phases section and select the pencil icon to edit your phases.
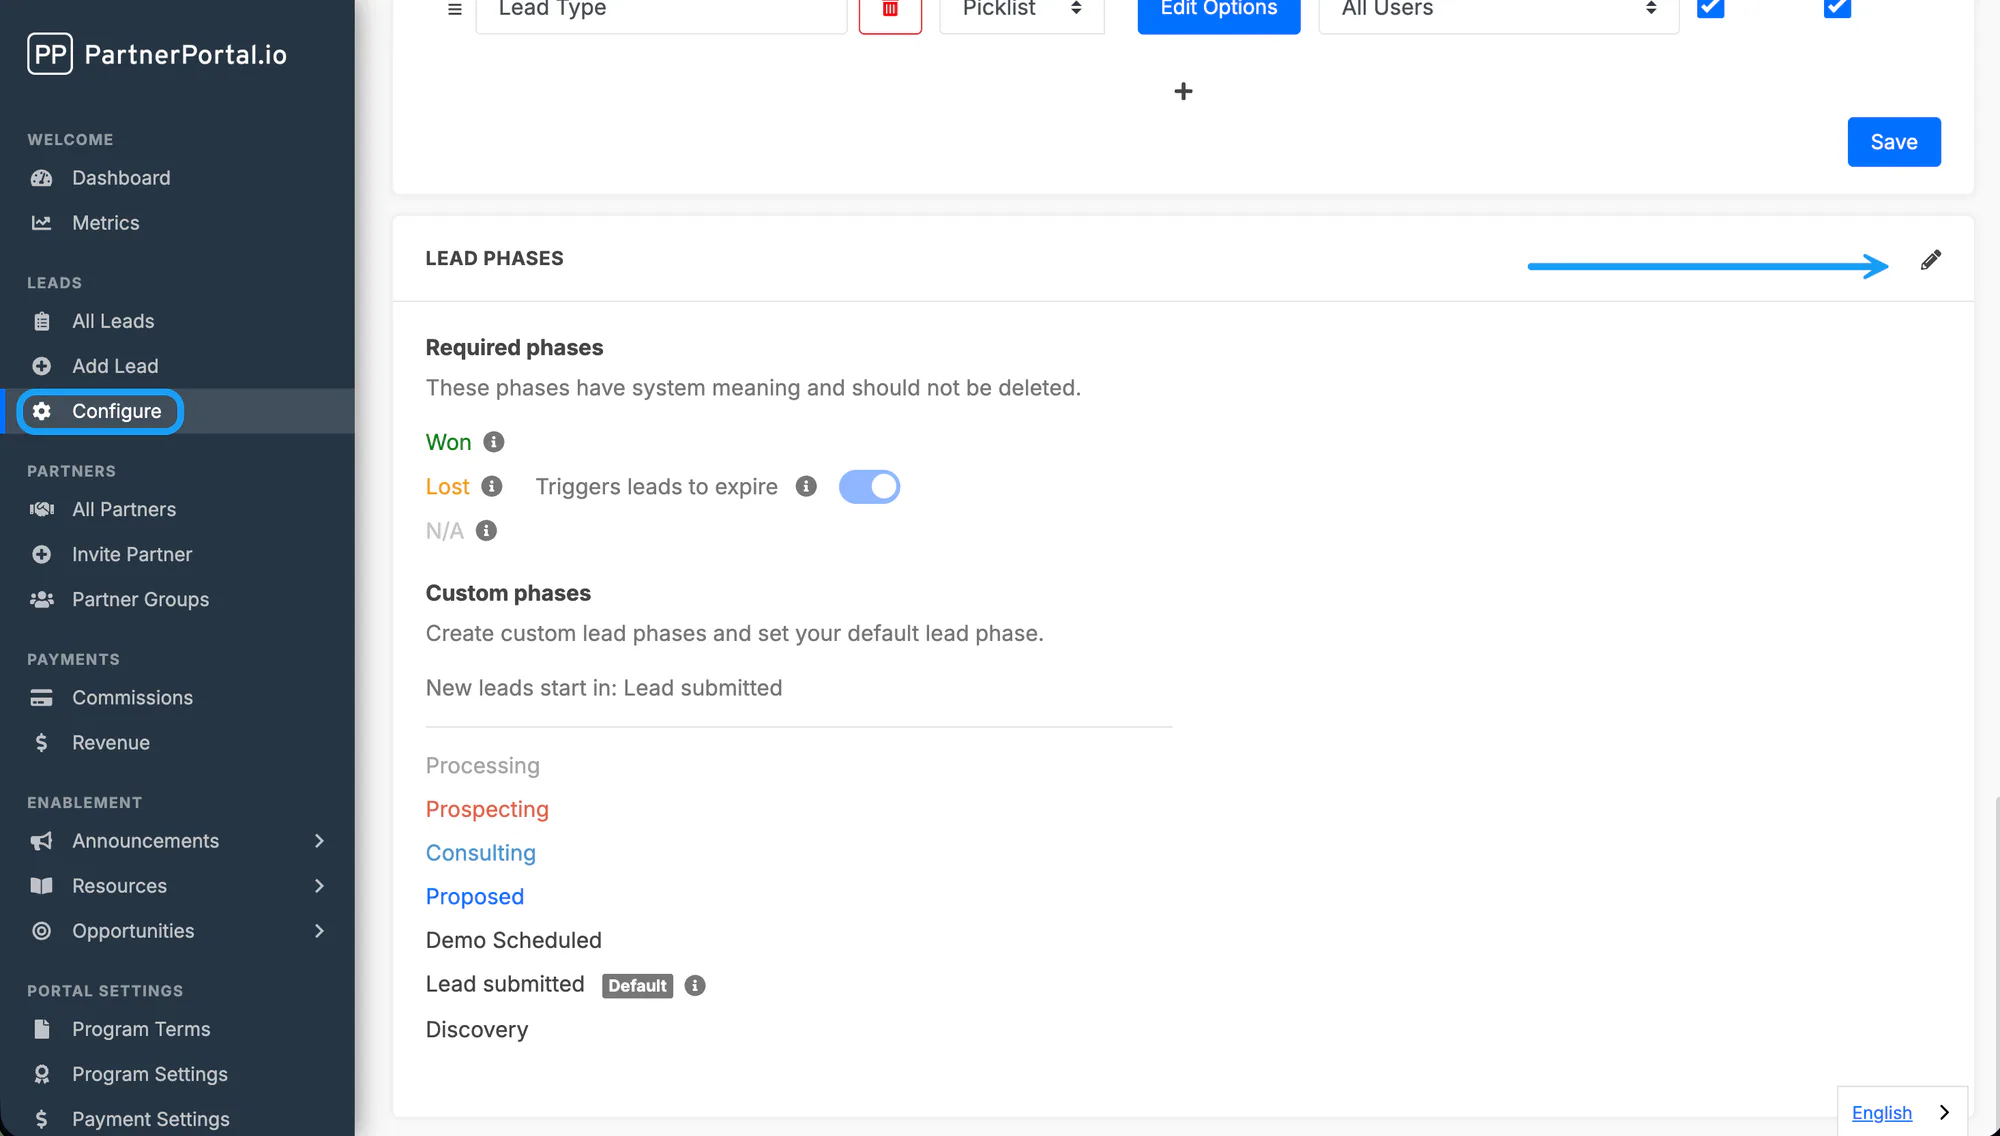
From here you can:
- Add new lead phases
- Delete unused lead phases
- Set a default phase for new leads
Deleting Lead Phases
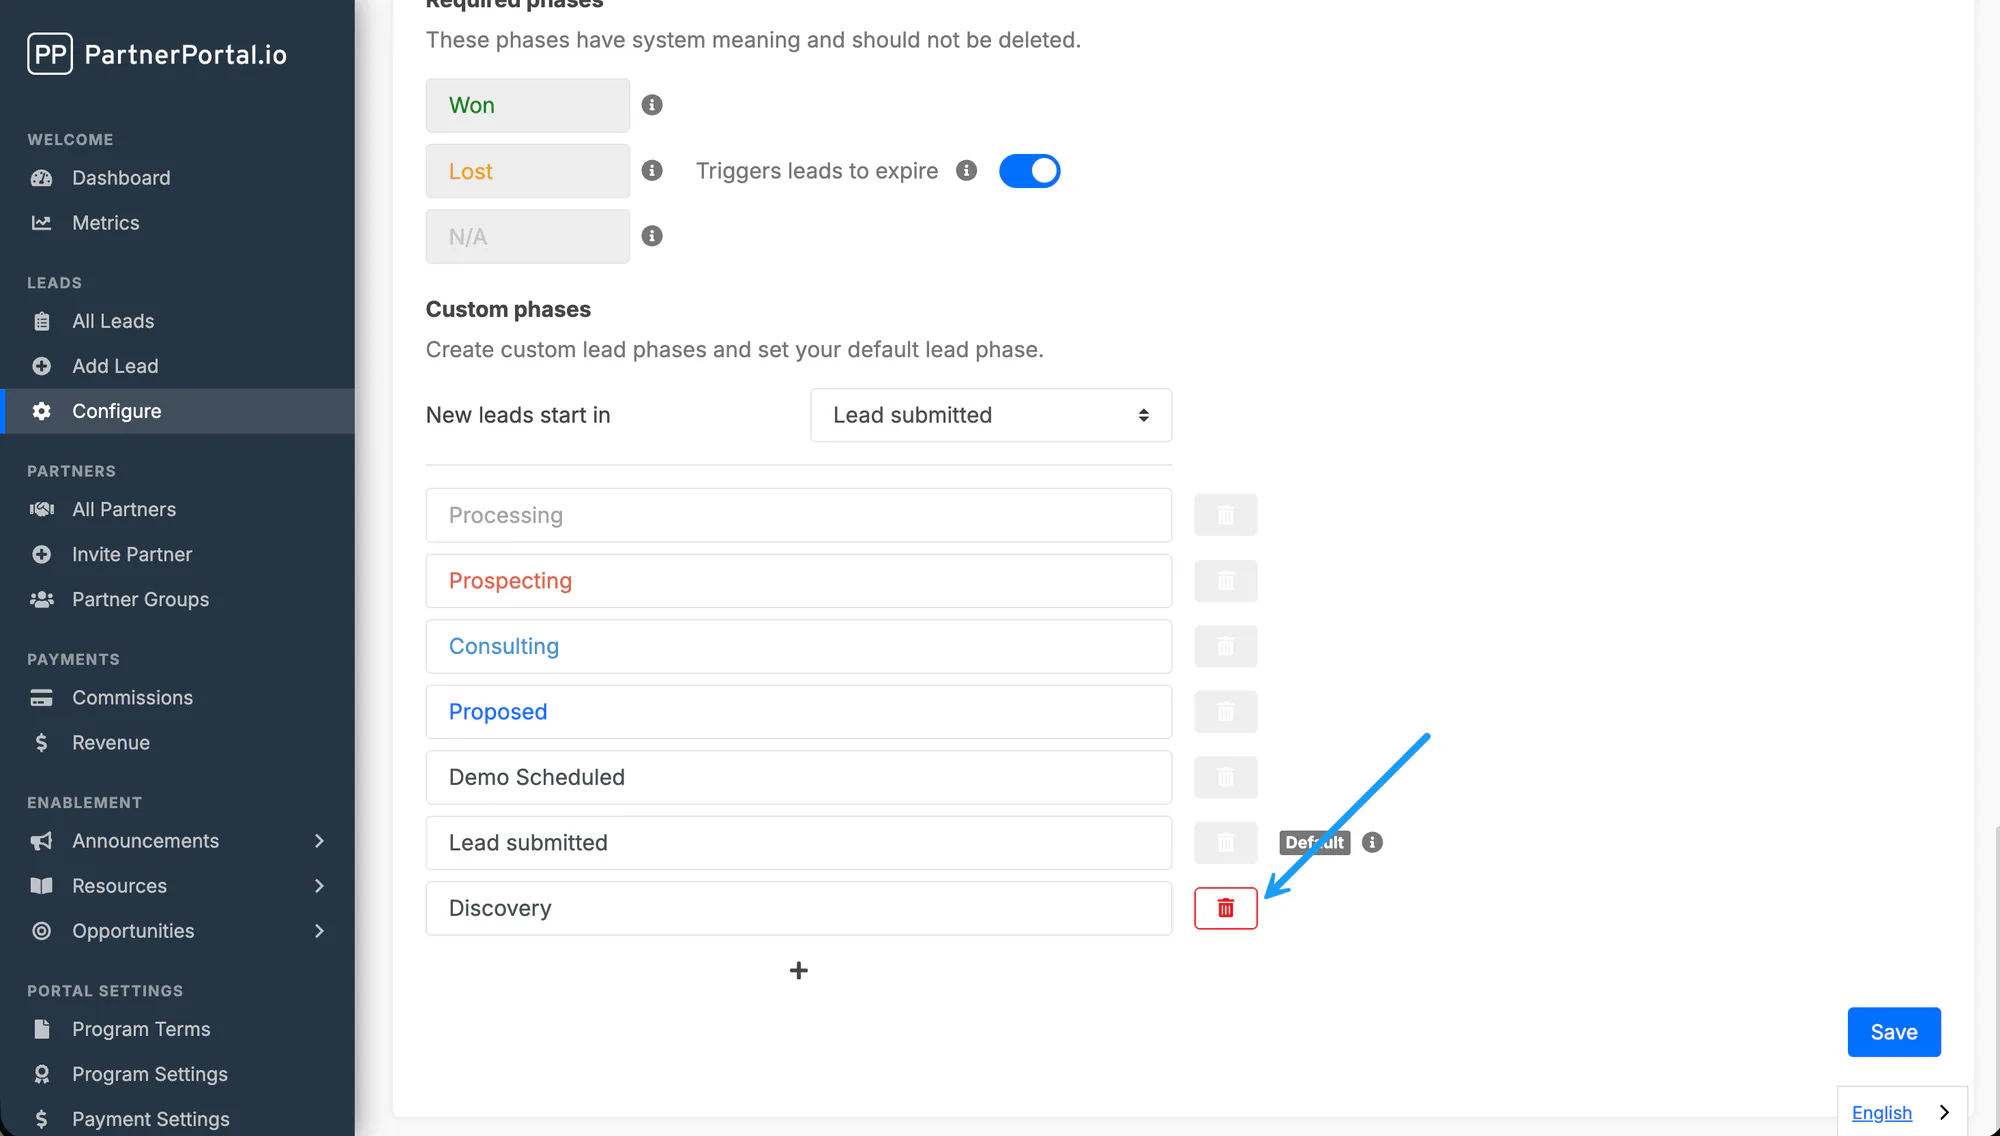
Section titled “Deleting Lead Phases”Lead phases can be deleted if they aren’t currently in use. To delete a phase, click the trash icon next to the field.
Please note:
- A phase can’t be deleted if a lead is currently assigned to it.
- The default phase can’t be deleted.
- Some phases are required and must remain in place.
Setting a Default Phase
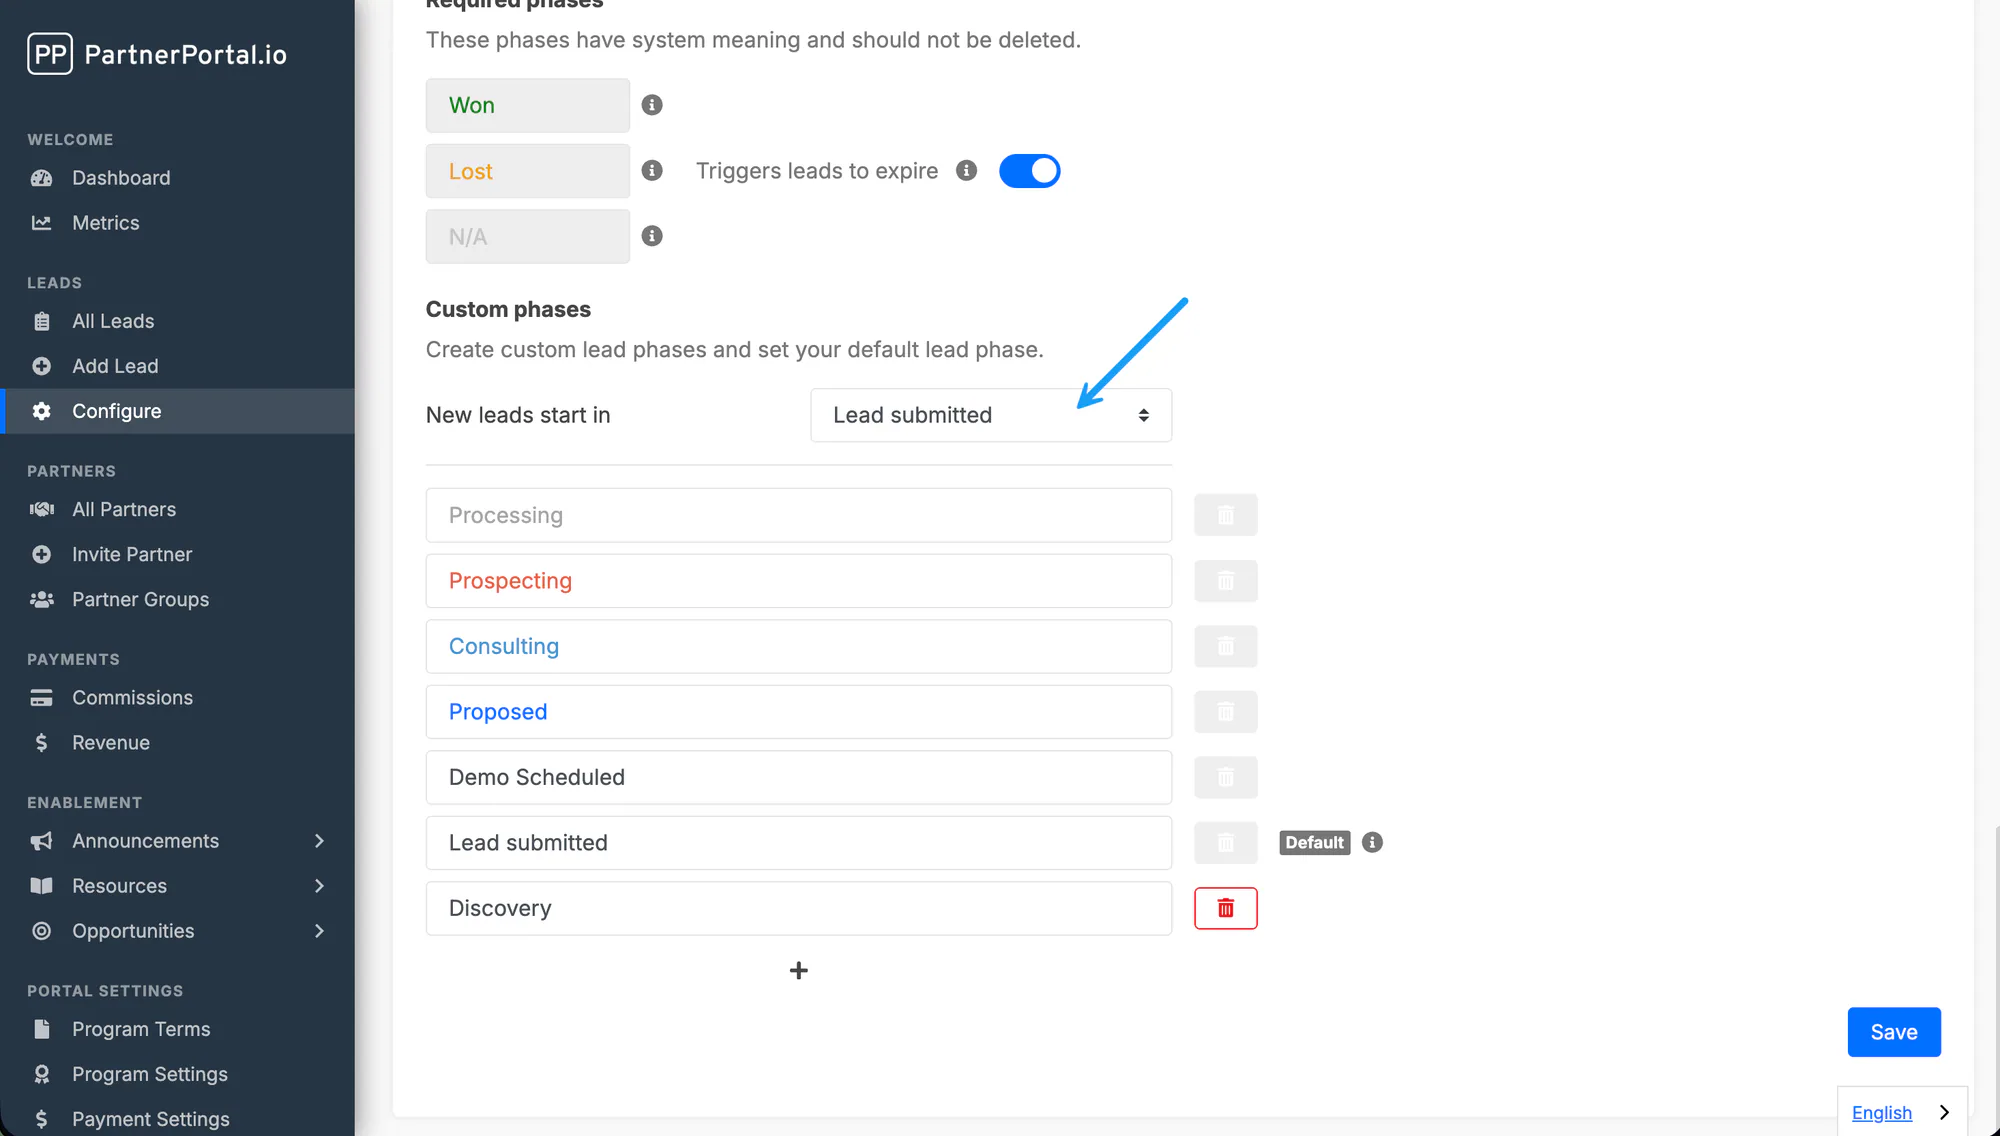
Section titled “Setting a Default Phase”You can choose which phase new leads start in by setting a default phase. All newly submitted leads start in this phase and remain there while Pending.
Phases and Your CRM
Section titled “Phases and Your CRM”Any phase customization connected to your CRM only applies once a lead has been mapped.
If you delete a lead phase that’s currently mapped to your CRM, phase updates from the CRM will no longer apply to that deleted phase, and a CRM error is triggered instead.
Automatic Lead Expiration
Section titled “Automatic Lead Expiration”A Closed Lost phase can trigger your PartnerPortal leads to expire automatically. If you prefer to expire leads manually, make sure the Trigger Leads to expire option is turned off.